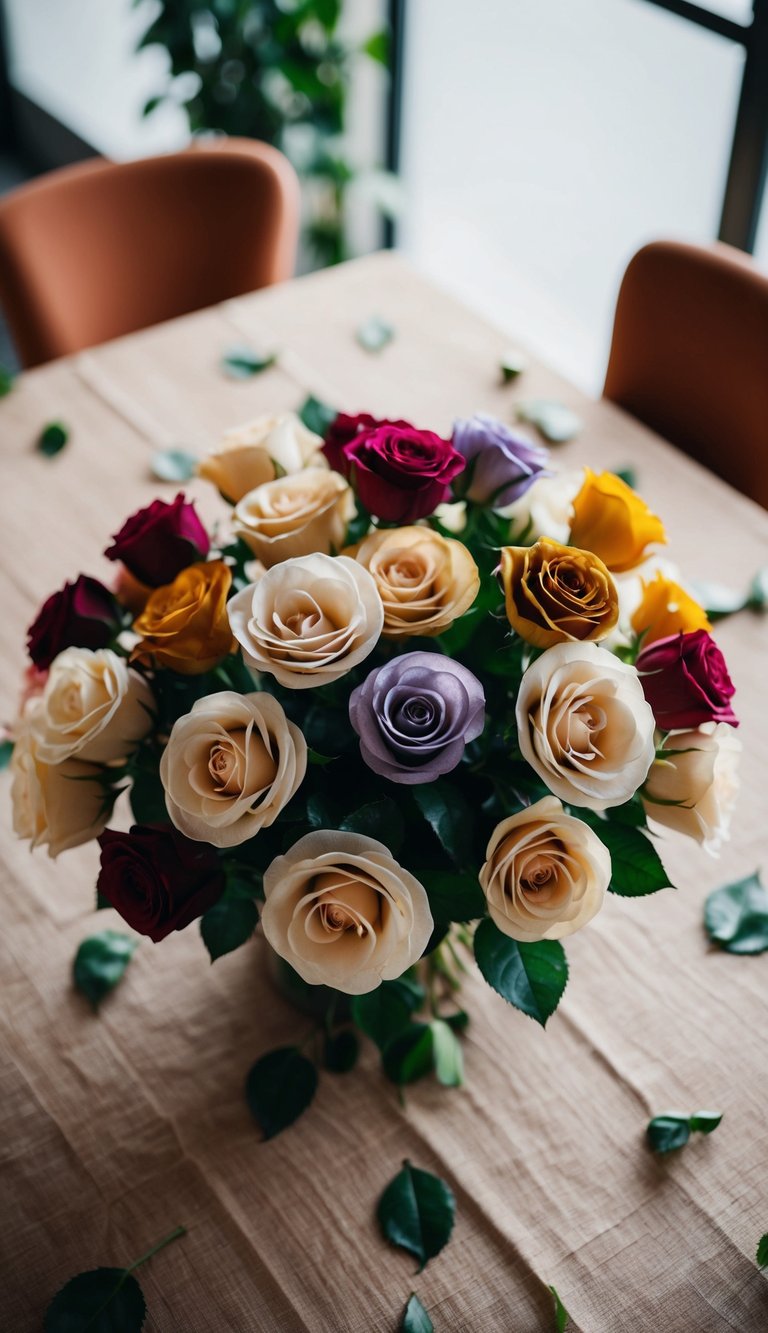
10 DIY Rose Bouquet Ideas to Make at Home This Spring
Rose bouquets add beauty to any space and make thoughtful gifts for loved ones. You can create stunning arrangements without spending a fortune by making them yourself at home.
DIY rose bouquets let you customize colors, sizes, and styles to match your personal taste or the occasion. Whether you’re planning for a special celebration or simply want to brighten your home, these creative ideas will help you craft beautiful rose arrangements with materials you might already have.
1. Origami Paper Roses
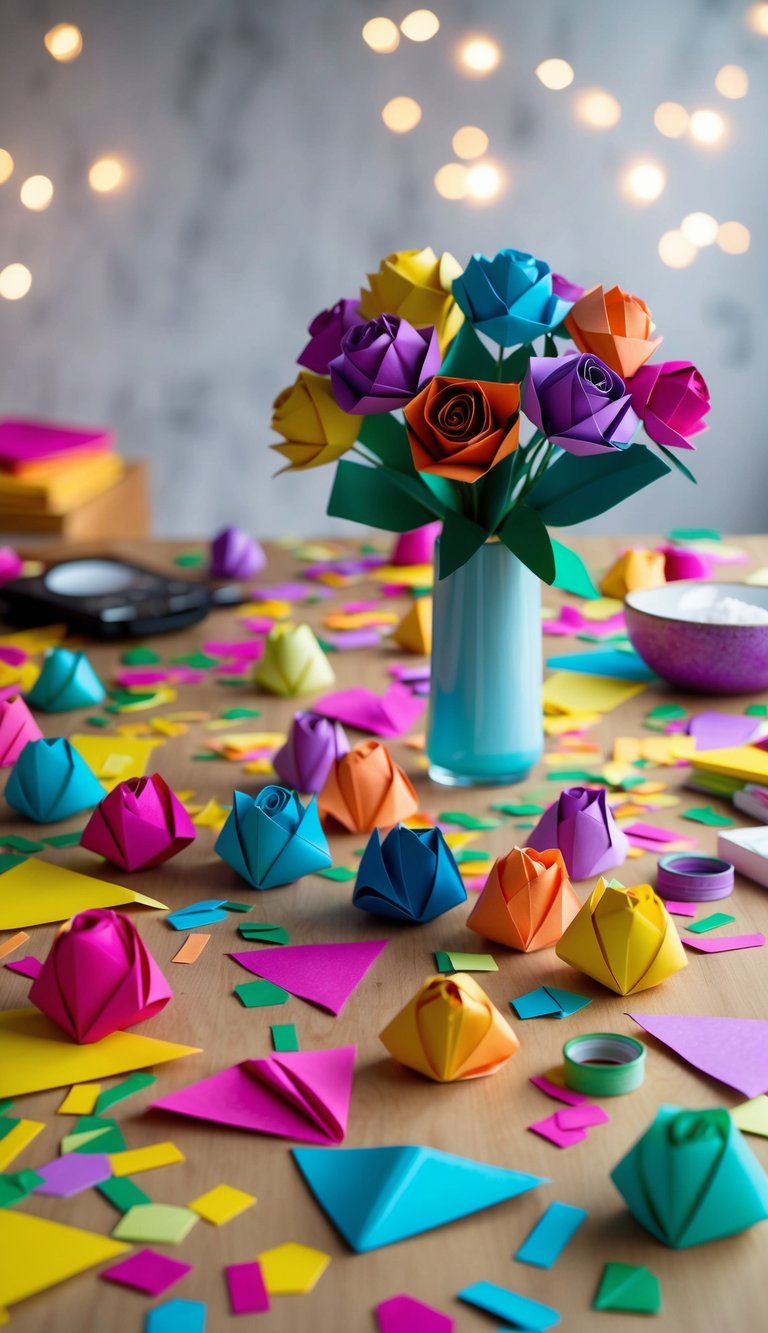
Origami paper roses are a beautiful way to create a lasting bouquet. Unlike real flowers, these paper blooms will never wilt or fade. You can make them in any color or pattern you choose.
All you need is some square origami paper, scissors, and glue. If you don’t have origami paper, you can cut regular paper into squares. Patterned scrapbook paper works great too!
Start with a simple rose design that requires just a few folds. Many tutorials are available online that show the step-by-step process. As you get more comfortable, you can try more complex designs.
Create at least 10-12 roses for a full bouquet. Mix different colors and sizes for visual interest. You might try red, pink, and white for a traditional look, or go bold with blues and purples.
For stems, you can use green pipe cleaners or wooden skewers wrapped in green floral tape. Attach each rose to its stem with hot glue or strong craft glue.
Bundle your finished roses together and wrap the stems with ribbon or decorative paper. This handmade bouquet makes a thoughtful gift that will last for years.
2. Crepe Paper Rose Bouquet
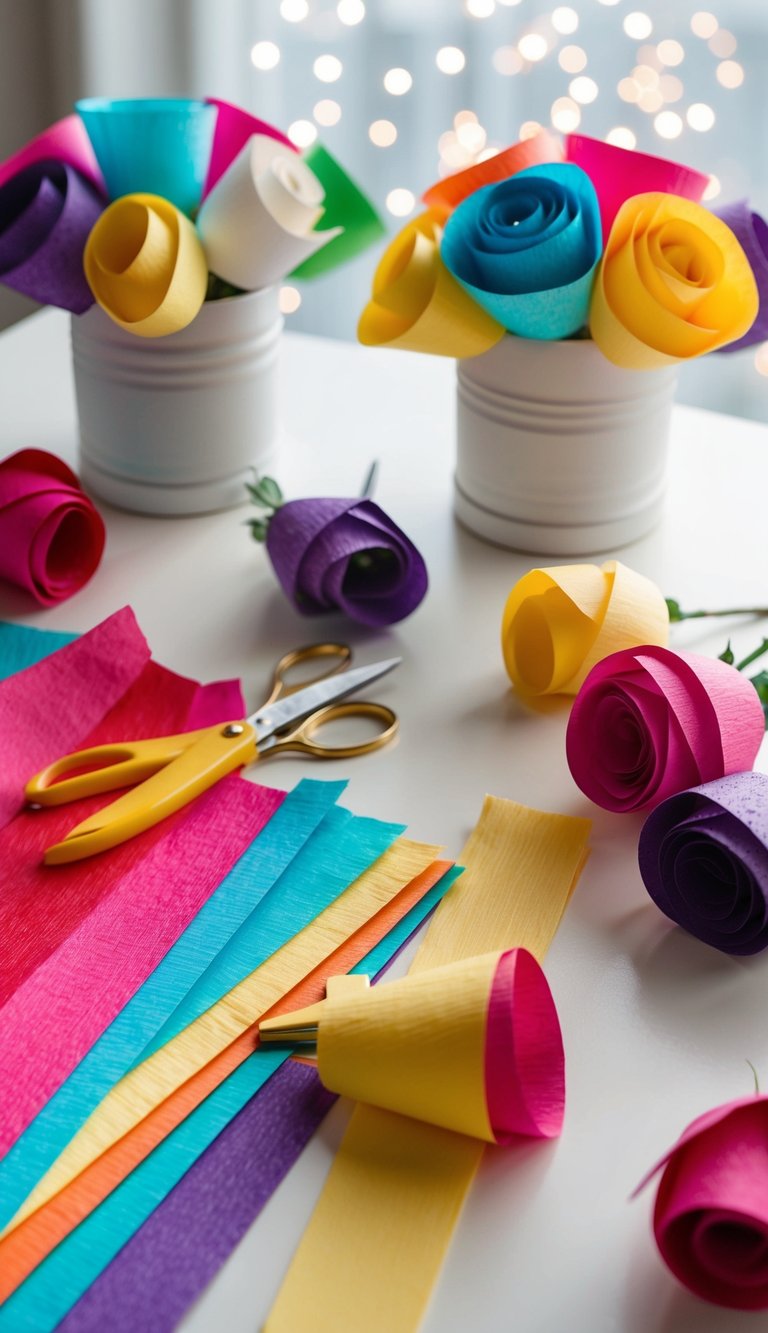
Crepe paper roses make a stunning bouquet that lasts much longer than fresh flowers. You can create these beautiful blooms with just a few simple materials from your local craft store.
Start by gathering crepe paper in your favorite rose colors. Red, pink, and white are classic choices, but don’t be afraid to get creative with blues, purples, or even black for a dramatic look.
Cut the crepe paper into petal shapes of various sizes. You’ll need about 5-7 petals per rose, starting small and gradually increasing in size.
Stack your petals from smallest to largest. Twist the bottom portion of each petal to create a natural curve and add dimension to your rose.
Attach each petal to a thin floral wire using floral tape. Wrap the petals around each other, starting with the smallest in the center and working outward.
Add green crepe paper leaves to complete the realistic look. Gather multiple roses together with stems wrapped in floral tape for a lovely bouquet.
You can customize your crepe paper roses with glitter, pearl centers, or subtle watercolor effects for extra personality.
3. Felt Flower Roses
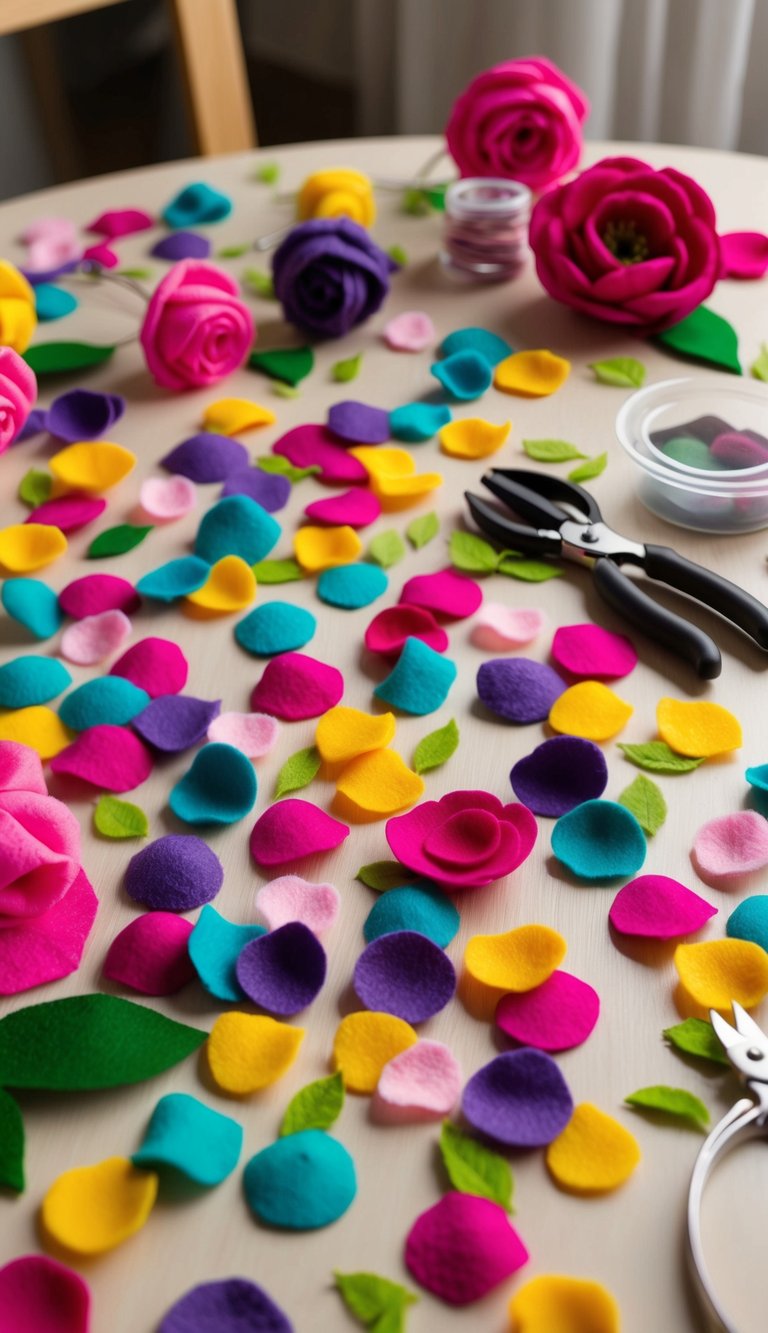
Felt flower roses are a charming option when you want a bouquet that lasts forever. They’re soft to touch and come in any color you can find felt in at your local craft store.
To make them, you’ll need felt sheets, scissors, glue, and some green pipe cleaners for stems. Start by cutting spiral shapes from the felt – these will become your roses when rolled up.
Begin rolling from the outer edge of the spiral toward the center. Add a dab of glue at the end to secure it. The tighter you roll, the more compact your rose will be.
You can create different sized roses by changing the size of your spiral cuts. Mix and match colors for a vibrant bouquet that won’t wilt.
For leaves, cut simple leaf shapes from green felt and glue them to your pipe cleaner stems. Wrap the bottom of each rose with floral tape before attaching it to the stem.
These felt roses make wonderful gifts that recipients can enjoy for years. They’re also perfect for people with allergies who can’t have real flowers.
4. Book Page Roses
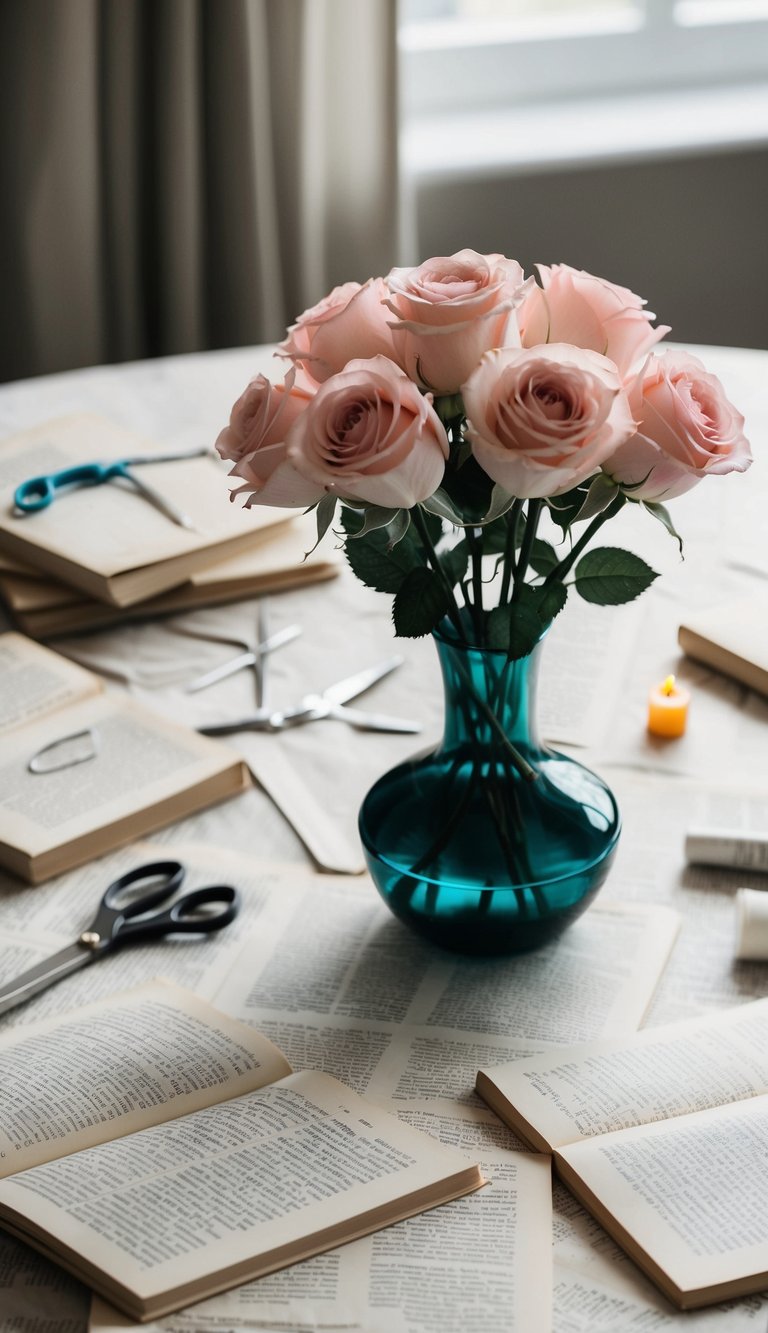
Book page roses give your bouquet a vintage, literary touch. You can use pages from old books that you no longer need or thrift store finds. The yellowed pages create a warm, nostalgic feel that’s perfect for bookworms or vintage lovers.
To make these roses, start by tearing out pages carefully. Cut them into circles of different sizes – about 3-4 inches wide works well. You’ll need around 5-7 circles per rose.
Stack your circles slightly off-center from each other. Then, starting from the outside, roll the paper inward to form a rose shape. Secure the bottom with a dab of hot glue.
These paper roses last forever, unlike fresh flowers. You can enhance them by lightly brushing the edges with tea or coffee for an even more aged look.
Try mixing book page roses with other paper flowers or even real blooms for contrast. You can also spray them lightly with perfume to add a subtle scent.
For an extra special touch, choose pages with meaningful text or poetry that has significance to you or the recipient.
5. Recycled Bottle Roses
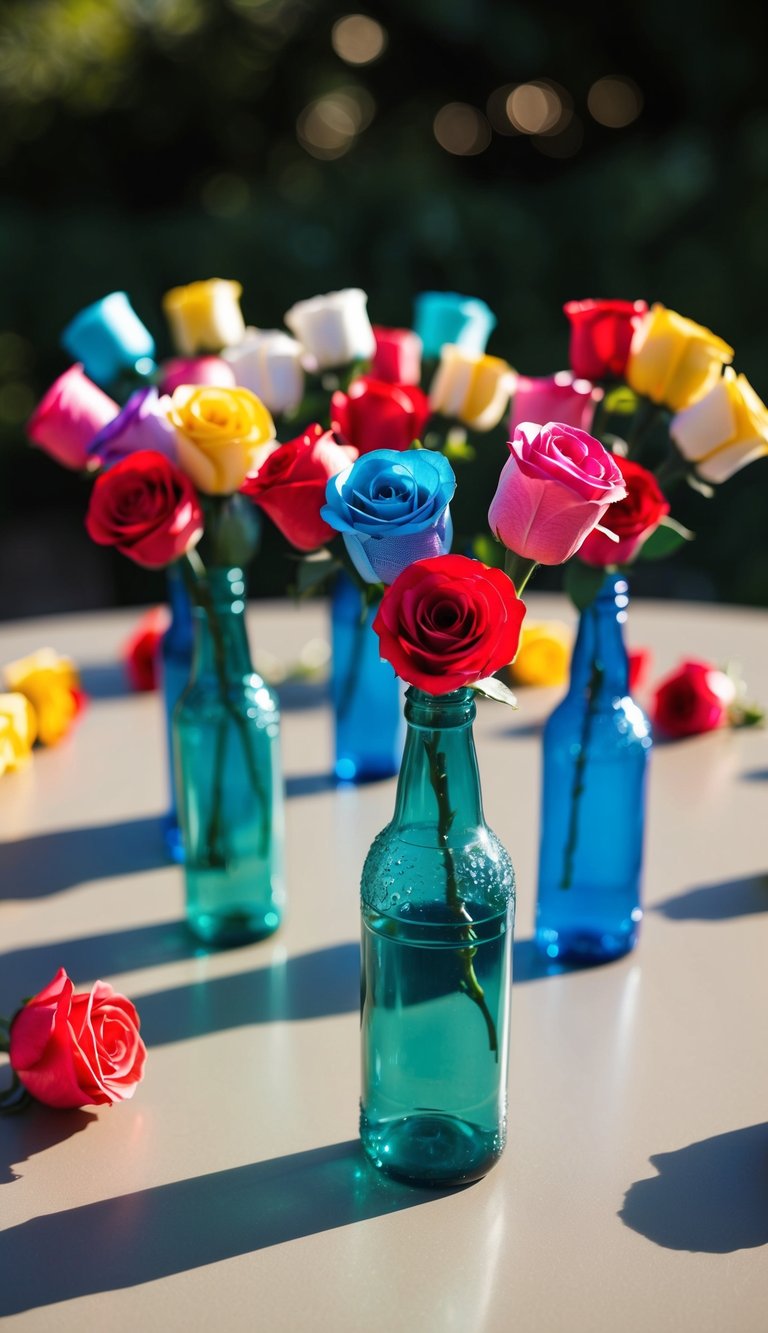
Turning empty plastic bottles into beautiful roses is easier than you might think. This eco-friendly craft gives new life to items that would otherwise end up in the trash.
Start by collecting clean plastic bottles – water or soda bottles work great. Cut the bottom portion of the bottle into a spiral shape, working from the outside toward the center.
Once you have your spiral, round the edges with scissors to create petal shapes. The tighter center will form the middle of your rose, while the outer spirals become the outer petals.
Use acrylic paint to color your roses. Red is classic, but pink, yellow, or white can be stunning too. You can even try ombre effects by blending colors together.
Attach your bottle roses to wire stems using hot glue. Wrap the stems with green floral tape to complete the look.
These recycled roses last forever and make great decorations for your home. You can arrange them in vases or use them as unique gift toppers.
6. Coffee Filter Roses
Coffee filter roses are a budget-friendly craft that looks surprisingly elegant. You can create these delicate blooms using items you probably already have in your kitchen.
Start with white coffee filters – the basket style works best. Gather about 3-4 filters for each rose you want to make. Stack them together and fold in half twice.
Cut the folded edge into a rounded petal shape. When you unfold them, you’ll have a circle with scalloped edges. Next, separate your filters and dye them if desired.
Food coloring mixed with water in a spray bottle creates beautiful color effects. Try red, pink, or even blue for unique roses. Let them dry completely before moving on.
To form the rose, pinch the center of one filter and twist gently. Wrap additional filters around this center, securing with floral wire or tape at the base.
Fluff and shape the petals outward to create a realistic rose appearance. These lightweight flowers are perfect for centerpieces or bouquets that need to last.
7. Burlap Roses
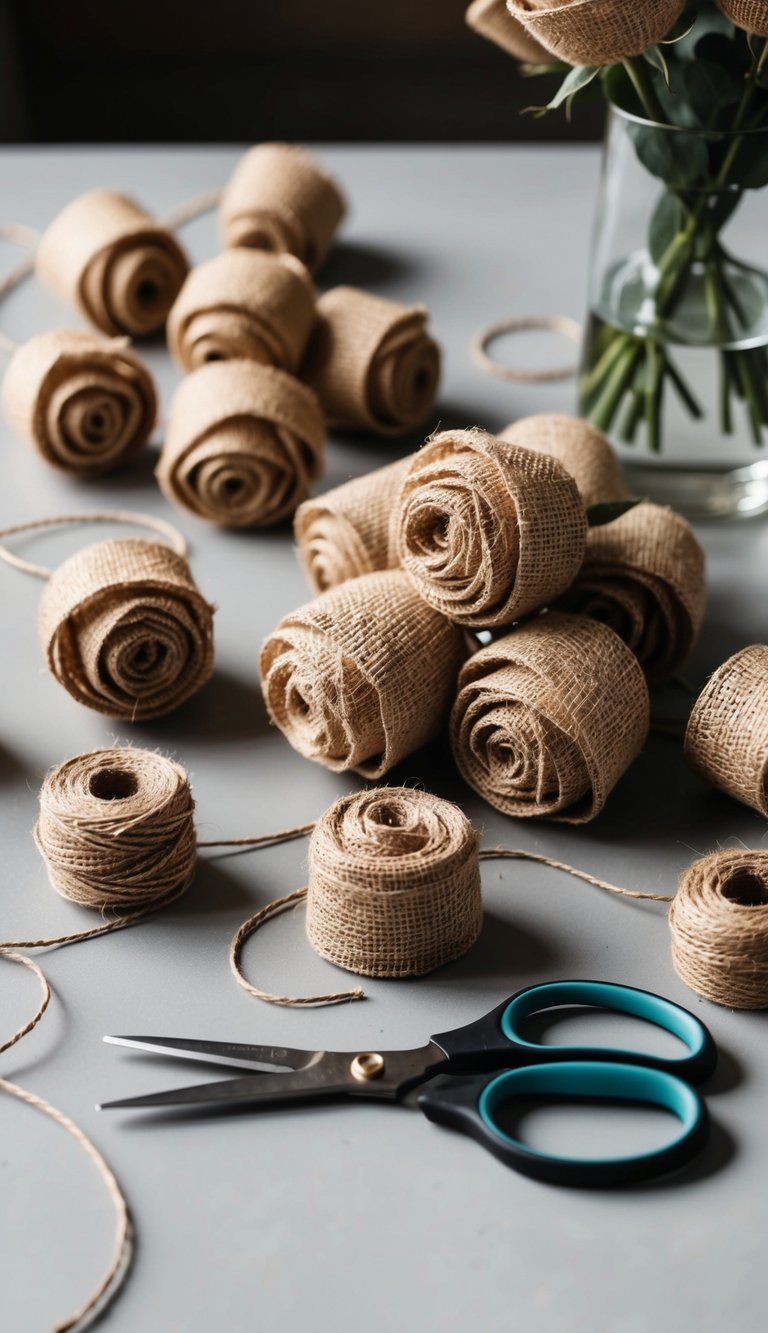
Burlap roses add a rustic charm to any bouquet. They’re perfect for country-themed weddings or casual home decor. You don’t need fancy materials to create these textured beauties.
Start with burlap fabric cut into 2-inch wide strips about 12 inches long. Roll one end tightly to form the center of your rose. Then wrap the strip around this center, twisting slightly as you go to create natural-looking petals.
Secure the bottom with hot glue or floral wire. You can leave the burlap natural or paint it with watered-down acrylic paint for subtle color. Try tea-staining for an aged look.
Mix your burlap roses with real flowers or create an entire bouquet of just burlap. They pair beautifully with twine, lace, or dried lavender sprigs.
The best part? These roses will never wilt! Make them ahead of time for your special event without worrying about keeping them fresh.
Try different burlap textures and colors for variety. Looser wrapping creates fuller roses, while tighter rolling gives a more budded appearance.
8. Ribbon Rose Bouquet

Ribbon roses create a stunning bouquet that lasts forever, unlike fresh flowers. You can make these elegant fabric flowers with just a few simple supplies from your craft store.
To create ribbon roses, you’ll need satin ribbon (about 1-inch wide), floral wire, floral tape, and scissors. Start by folding the end of your ribbon into a small loop and secure it with wire – this becomes the center of your rose.
Twist and wrap the ribbon around this center, folding as you go to create natural-looking petals. The looser you wrap, the fuller your rose will appear. Secure the base with wire as you work.
Once you’ve made 8-12 ribbon roses, gather them together and wrap the stems with floral tape. You can add small fabric leaves between the flowers for a more natural look.
This DIY bouquet makes a wonderful keepsake for anniversaries or as a unique wedding bouquet. You can customize the colors to match any theme or décor, making it perfect for special occasions.
9. Wooden Roses
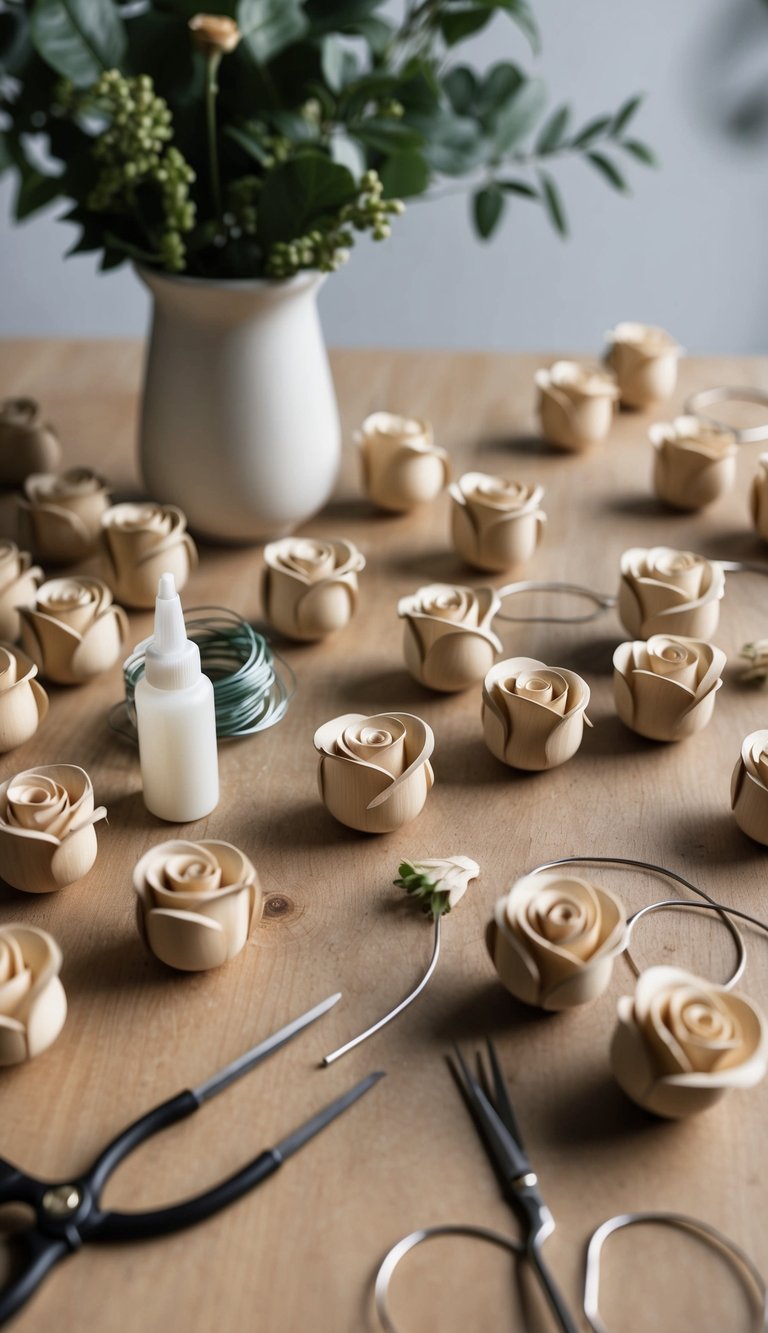
Wooden roses are a gorgeous alternative to fresh flowers. They last forever and add a rustic touch to any bouquet. You can find them at craft stores or online.
Making your own wooden roses is easier than you might think. Start with thin wood shavings or specialty wooden flower petals available at craft shops. You can also use birch bark for a more natural look.
Roll the wood pieces to form petals, securing them with a dab of wood glue. Layer these petals around a central point to create your rose. You may need to hold them in place until the glue sets.
Paint your wooden roses any color you like. Traditional red is beautiful, but pastels or metallics can make your bouquet unique. Try leaving some unpainted for a natural wood finish.
Attach your roses to floral wire or wooden dowels for stems. Wrap with floral tape or twine to complete the rustic look. Group several together with some eucalyptus or dried greenery for a stunning arrangement.
These wooden beauties make wonderful keepsakes for special occasions. Your handmade wooden rose bouquet will be cherished long after a real one would have wilted.
10. Fabric Painted Roses
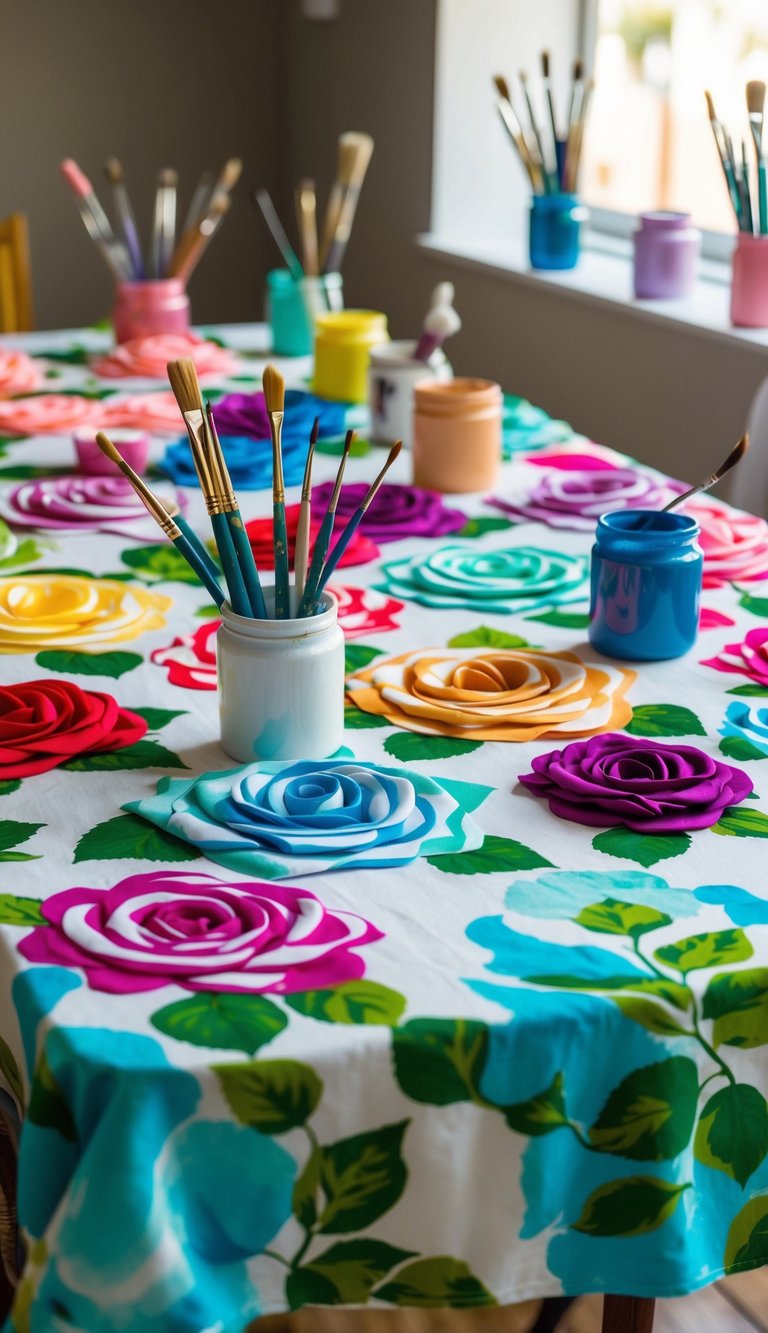
Fabric painted roses offer a unique twist to traditional bouquets. You can create these beautiful fabric flowers with just a few materials from your craft store. All you need is some white cotton fabric, fabric paint, and wire stems.
Start by cutting fabric circles in different sizes for your rose petals. The bigger circles will make fuller roses. You can use pinking shears to create a decorative edge if you want.
Next, dip the edges of your fabric circles in red or pink fabric paint. For a realistic look, make the color more concentrated at the edges and lighter toward the center. You can also add some green paint to smaller pieces for leaves.
Let your painted fabric pieces dry completely. This usually takes a few hours, depending on how thick the paint is.
Once dry, fold and twist the circles to form rose shapes. Secure them with a bit of hot glue or by stitching the bottom. Attach your fabric roses to floral wire for stems.
These fabric painted roses last forever and make wonderful keepsake bouquets for special occasions. You can customize them with any colors you like to match your home decor or event theme.
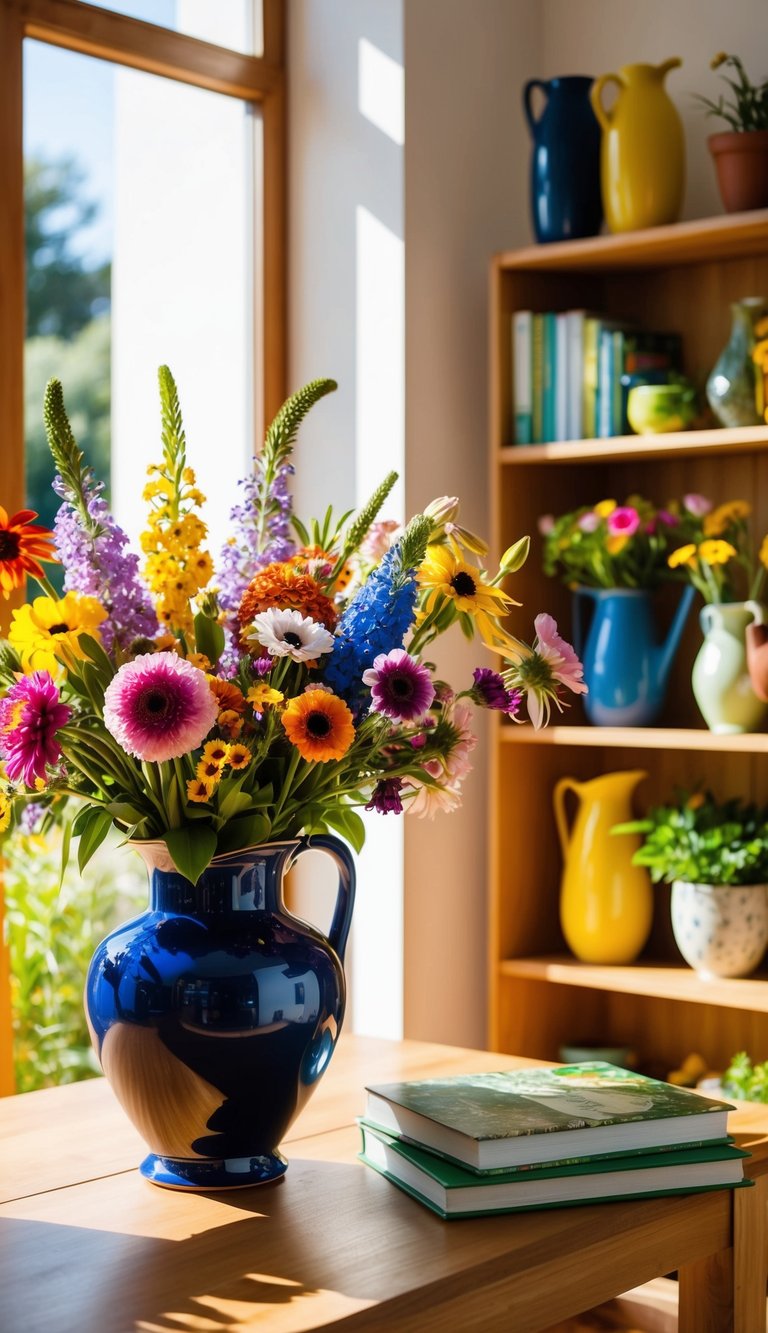
Types of Rose Bouquets
Rose bouquets come in many shapes and styles to fit different occasions and personal preferences. You can choose from classic arrangements with a timeless appeal or more creative designs that showcase your personality.
Traditional Bouquets
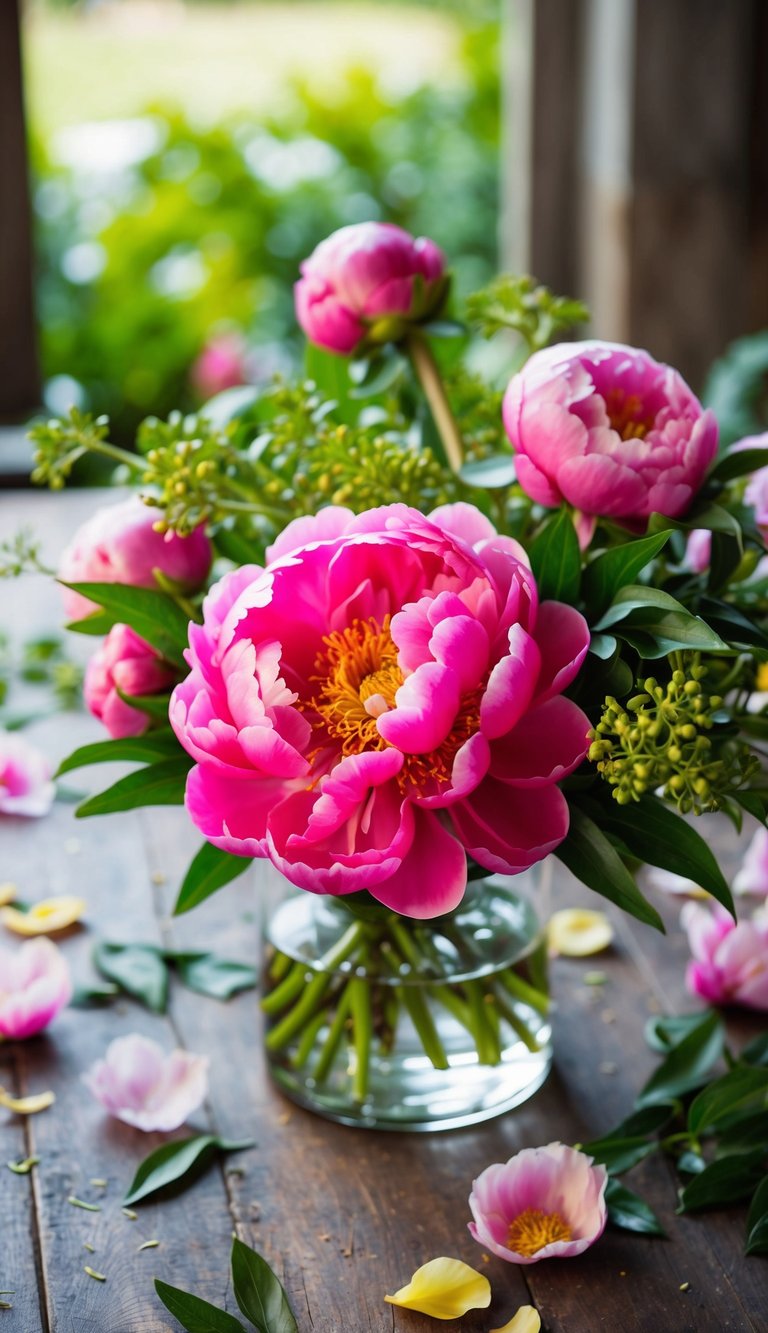
Traditional rose bouquets feature roses as the star of the show. You’ll often see these at weddings and formal events. The classic round bouquet with tightly packed roses creates an elegant, timeless look that never goes out of style.
Long-stemmed single roses or a dozen roses bundled together make perfect romantic gestures. Red roses symbolize love, while white represents purity and pink shows appreciation.
For a more structured look, try a nosegay bouquet – a small, tightly-packed arrangement of roses with minimal greenery. These compact bouquets are perfect for bridesmaids or intimate celebrations.
Popular Traditional Styles:
- Round bouquets (most common)
- Cascade bouquets (roses flowing downward)
- Nosegay bouquets (small and compact)
- Hand-tied bouquets (natural, garden-style look)
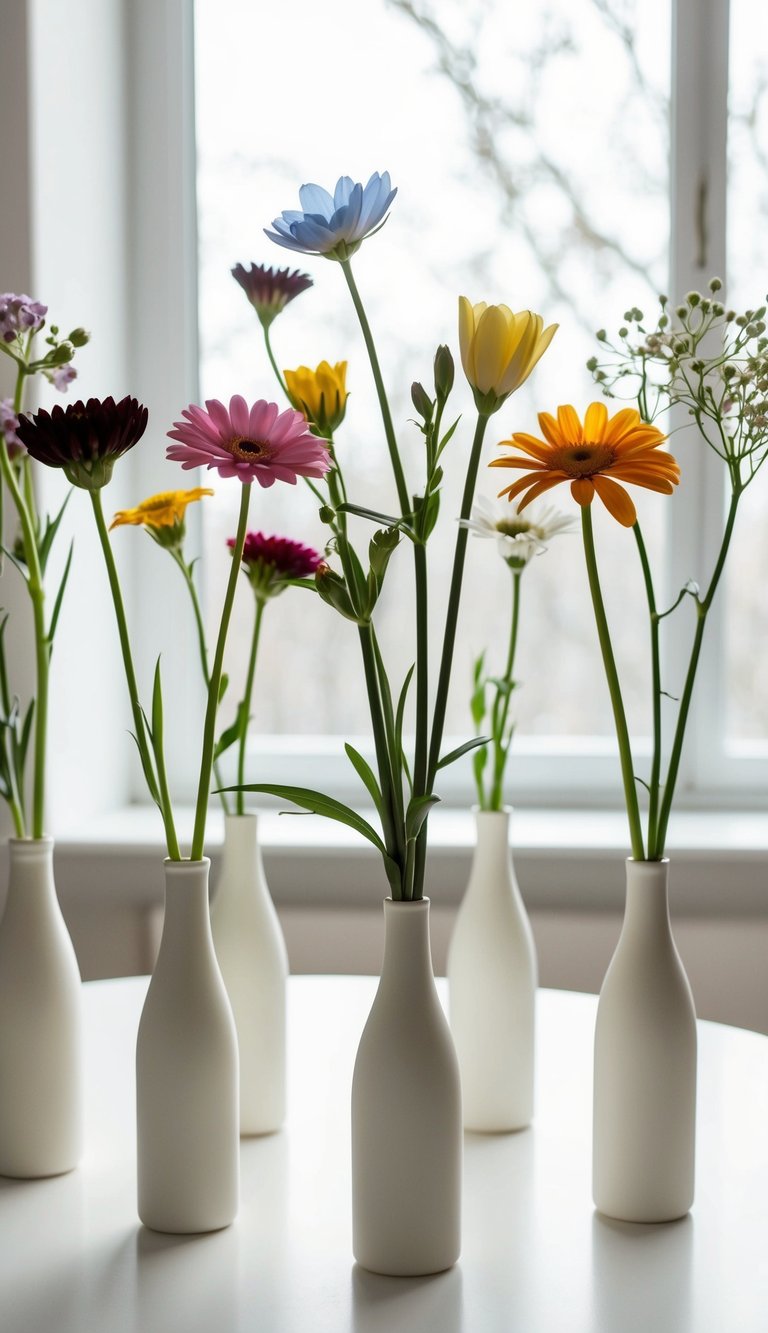
Modern Arrangements
Modern rose bouquets break traditional rules with unique shapes and unexpected elements. You might see asymmetrical designs that create visual interest or minimalist arrangements featuring just a few statement blooms.
Geometric bouquets use roses arranged in distinct shapes like crescents, triangles, or even squares. These contemporary designs often incorporate unusual materials like wire frames, ribbons, or decorative branches.
Don’t be afraid to mix rose varieties! Garden roses alongside spray roses create texture, while incorporating unique colors like coffee-toned, lavender, or even black roses makes a bold statement.
Try wrapping your modern bouquet in unexpected materials like denim, leather, or patterned fabric instead of typical florist paper or ribbon.
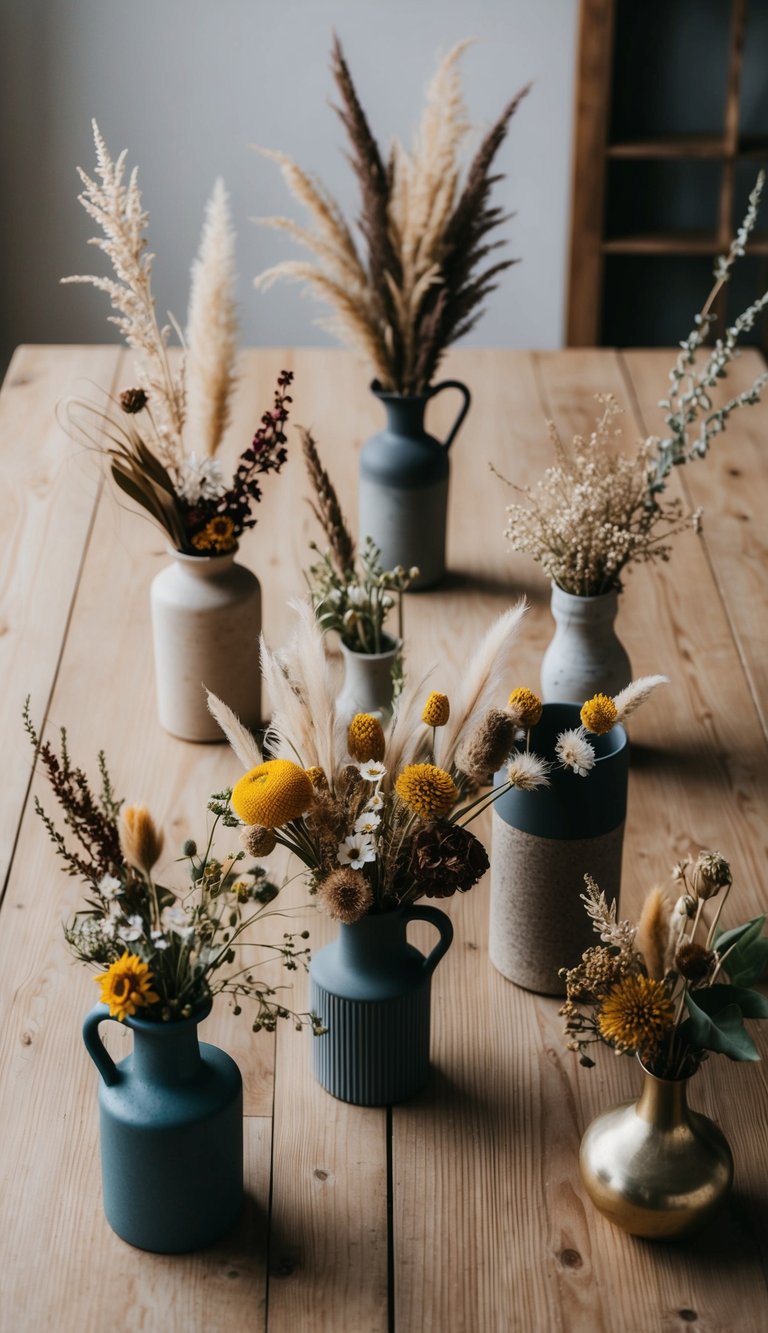
Mixed Flower Bouquets
Mixed bouquets combine roses with other flower varieties for added texture and visual interest. You can pair roses with flowers that complement their elegant nature.
Roses work beautifully with lilies, hydrangeas, and peonies for romantic arrangements. For a rustic look, try mixing roses with wildflowers, baby’s breath, or delicate ferns.
Seasonal combinations keep your bouquet fresh and appropriate. Spring bouquets might feature roses with tulips or daffodils, while fall arrangements could include roses with dahlias or chrysanthemums.
Great Rose Combinations:
- Roses + eucalyptus (fresh, modern)
- Roses + lavender (fragrant, romantic)
- Roses + sunflowers (bright, cheerful)
- Roses + succulents (long-lasting, unique)
Remember to consider color harmony when creating mixed bouquets. Complementary colors create drama, while analogous colors offer a more harmonious look.
Essential Tools for DIY
Creating your own rose bouquets at home requires just a few basic tools that make the process easier and your results more professional-looking. The right equipment helps you handle flowers safely while creating arrangements that last longer.
Scissors & Pruners
Good cutting tools are absolutely essential for DIY rose bouquets. Regular household scissors won’t cut it (literally). You’ll need sharp, clean pruning shears or floral scissors with pointed tips.
Sharp tools make clean cuts that help roses absorb water better and last longer. When stems aren’t crushed during cutting, your flowers stay fresher.
Always clean your scissors between cuts to prevent spreading plant diseases. A quick wipe with rubbing alcohol works great.
For tougher woody stems, bypass pruners are your best friend. They cut like scissors instead of crushing stems like anvil pruners do.
Consider investing in a pair with comfortable grips if you’ll be making bouquets regularly – your hands will thank you!
Floral Tape
Floral tape is the unsung hero of DIY bouquets. This stretchy, slightly sticky tape helps hold your arrangement together without being obvious.
To use it properly, stretch the tape slightly as you wrap. This activates the adhesive and helps it stick to itself. Green tape blends with stems, while other colors can add decorative touches.
Wrap stems individually to reinforce them or use it to bind multiple stems together for your bouquet structure.
Keep a few different widths on hand – narrow tape works for delicate stems while wider tape provides more support for heavier blooms.
Floral tape is also great for covering wire when you need to add extra support to drooping flowers.
Wire & Foam
Floral wire and foam provide structure and stability to your rose arrangements. Wire comes in different gauges (thicknesses) – lighter gauges for delicate work and heavier ones for supporting large blooms.
Use wire to strengthen bent stems or to create a framework for unusual arrangements. You can wrap it around weak stems or insert it directly into thicker ones for added support.
Floral foam holds both your flowers and water. Soak it completely before use until it sinks on its own – never force it underwater.
Green foam is for fresh flowers, while brown or gray is for silk arrangements. Cut foam with a knife rather than breaking it to prevent crumbling.
Remember to secure foam in your container with waterproof floral tape before adding flowers to prevent shifting when you move your arrangement.